Thursday 28 February 2013

Quick NOTD - Glitter Gradient

Hi guys! This is just a quick NOTD to show off, I wore this to my beauty course the other day and a lot of the girls loved it. I wasn't entirely happy with it, but thought I would show you anyway!

*please ignore the crappy photo, I dunno wtf was going on there*

I used 2 coats of Picture Polish Cackle as the base, and did a quick glitter gradient with Gloss n Sparkle Fell on Black Days. I used Peitas Polish Glitter Gripper for the base, an SV top coat.

I have some major swatching to do tomorrow, so I'll have some proper posts for you then!

Until Next Time,

<3 Bec

Wednesday 27 February 2013

Color Club Port-Folio

I bought this polish a few months ago, have worn it 3 times and ever managed to make it look good. Until the 4th time...


A gorgeous vampy purple with the most amazing green shimmer. I could not stop staring at my nails with this baby on them. This is three thin coats, with Seche Vite on top and Peita's Polish Glitter Gripper (new fave base coat) underneath.

My SV is getting to that point where it's shrinking EVERYTHING. Must find my thinner!

Until Next Time,

<3 Bec

Monday 25 February 2013

Aussie Nails Monday- Favourite Brand

This week's ANM theme was a hard choice- picking ONE brand as a favourite?! Eep! So, I looked through my stash and finally came up with an answer...

Any guesses? :p

I love China Glaze. Their colour range is INSANE, they have perfect neons, their holos are amazing, and I love the brush and formula. I used 2 of their most popular shades for this, For Audrey, and a very subtle gradient using Fairy Dust. And on my ring finger, their logo. The logo isn't very good, but we all know what it is, right? ;)

Now, my fellow ANM ladies are awaiting...

                       The Reluctant FemmeJibber Jabber - Messy Mansion - Nailovelogy


Until Next Time,


<3 Bec


Sunday 24 February 2013

My Holo Stash!

It's no secret that I LOVE me some holographic nail polishes. I was reorganizing my drawers today and decided to count them all! And, just for you to perve at, I took photos!

The whole collection.  48 in total. Now that may seem like a lot, but Sarah absolutely kicks my butt! Now, I took pics of them row by row... (all these pics ca be enlarged, so click on them if you want a better look!)

Row 1- Nubar Gem, Nubar Reclaim, Ozotic 518, Ozotic 526, Ozotic 515, Ozotic 509, Ozotic 513, Color Club Worth the Risque, Colour Club Revvvolution, Color Club Wild At Heart and Color Club Love Em Leave Em.

Row 2- Picture Polish Kryptonite, Picture Polish Monroe, A England Ascalon, A England Dragon, A England Bridal Veil, A England Tristam, A England Lady of The Lake, Milani Hi-Res, Milani Cyberspace, Milani Hi Tech and Milani HD.

Row 3- Nfu-Oh #61, Nfu-Oh #66, OPI DS Extravagance, OPI DS Original, OPI DS Sapphire, OPI DS Coronation (my first ever holo!), OPI DS Diamond, a red holo franken I made, and KleanColor Holo Green.

Row 4- China Glaze 2NITE, China Glaze DV8, China Glaze GR8, China Glaze LOL, China Glaze L8R G8R, China Glaze TMI, China Glaze He's Going in Circles, Glitter Gal Blue Holo, Glitter Gal Green Holo, and Glitter Gal Silver Holo.

Row 5, the last row- China Glaze Techno Teal, China Glaze Virtual Violet, China Glaze Laser Lime, China Glaze 3D Fantasy, NailNation 3000 Maz-A-Million, GOSH Holographic (the original version), and Peita's Polish Lacquer Dreams (one of a kind, so in love) 

So, that's my holo collection. I don't even want to think about how much money has gone into this, but no matter what they are my precious...

I have some nail art for you tomorrow for Aussie Nails Monday!

Until Next Time,

<3 Bec!


Thursday 21 February 2013

piCture pOlish Mirage aka my forgotten love...

If you're anything like me, you have a pretty decent polish collection. And sometimes, some really beautiful polishes can go for months without being worn. Case in point, piCture pOlish Mirage. I don't have a heap of time for manis during the first half of the week, because of my course, so I've been reaching for indies a lot. Glitter in coloured bases = instant awesome. But I picked up Mirage the other night with intentions of stamping or some type of nail art and I fell in love with it all over again and have left it plain and been wearing it nearly 4 days now!


This is 3 coats, plus Seche Vite. Also, I took these photos after TWO days wear! And one of those days, was full on, with me doing a fair bit of makeup and waxing, it's wearing like iron!

I am still super in love with Mirage. The duochrome-y shimmer is just fabulous. I'm now going to see what other gems have been hiding in my stash!

Until Next Time,

<3 Bec

Friday 15 February 2013

Orly Orange Punch

Orly's Orange Punch is another one of my handful or two of untried Orlys, and I am KICKING myself for letting this one sit in the drawer for a year! It's a perfect summer neon!


This is 2 coats, with no white undies! A neon that's perfect in 2 coats without a white base definitely gets a thumbs up from me! And to spice it up a bit, I placed some large purple hex 'glequins' into a line on one finger, and topped it with a coat of Seche Vite, as it does dry to a semi-matte finish.

I'm going to have a coffee and go watch the storm!

Until Next Time,

<3 Bec

Thursday 14 February 2013

THE Valentines Mani!

Happy Valentines day my loves! I do love you, and you should all know that! I have my final V-Day mani for you today, and while it didn't turn out like I wanted it too, I still like it!


I used 2 coats of Australis Sin City, because I wanted a shimmery black instead of a creme. Then I dabbed onto the tips with Ulta3 Lily White and ColorMates Romance, and swirled them together with an orangewood stick. And to top it off, a silver heart rhinestone on each.

Normal program will resume shortly! Have a good day, andget spoilt!

Until Next Time,

<3 Bec

Wednesday 13 February 2013

Valentines Mani #5!

I'm keeping this one a very simple V-Day mani today. Because sometimes, simple is good! I have a buttload of untried Orlys that have been sitting around for ages, waiting for me to use them, and I've gotten photos of most of them now, I just need to post them! So, showing off one today- and it's pretty old. If I can remember correctly, it was first released in 2004, and is part of the regular collection. But, I could be wrong, so please, let me know if I am!


This is 3 coats of Orly Opal Hope, a divine pale peachy-pink shimmer. The shimmer has an amazing blue-green duochrome colour shift to it, which doesn't like to photograph properly. And to top it off, another white 3D bow, because I don't use them enough, and they are adorable!

I have an awesome idea for my final V-Day mani, I'm hoping I can pull it off!

Until Next Time

<3 Bec

Tuesday 12 February 2013

Valentines Nails #3 & #4!

I tried really hard to post yesterday, but I have just started a new course in Beauty Services and the days are very long and I had an essay to finish up so I ran out of time. On the bright side, you get 12 manis in one post today!

First is my Aussie Nails Monday mani. This weeks theme was food. Keeping with my Valentines theme, I tried to do a heart shaped box of chocolates. TRIED being the key word there. It looks like a choc-chip cookie, or as someone suggested, a pizza hahaha!

Yeah.... anyway...

The next mani I have is a simple, cute V-Day mani. I used ColorMates Romance as the base, and based on the name 'Romance', I HAD to do a V-Day mani!

This is 2 coats, with Seche Vite on all fingers except the ring. I used BYS top coat (it's a slower drying t.c than SV) and placed pink rhinestones on in a heart shape.

So now I'm all caught up and need to do some more manis! Only 2 days left!

Until Next Time,

<3 Bec

Sunday 10 February 2013

Valentines Mani #3!

I promised I would take a break from red and black V-Day manis, and I have! I actually really loved this one, mainly the base colour, Sally Hansens I Pink I Can. I'm not a pink person, but this one looked really nice on my nails and worked with my skin tone!


The second pic is more colour accurate, but I liked the first pic too! I used 3 coats of IPIC, but to be honest, I hate the brush. HATE IT. This polish could be a 2 coater, but because the brush is very wide and kinda stiff, it drags polish and leaves bald spots, even after the polish is dry. So, I used 3 coats, needed a 4th, but gave up after three, then I did the nails one by one, applying a coat of BYS top coat and placing the black rhinestones on. My rhinestones are too big to have done the 'font' that I wanted, and my 'l' looks like a charity ribbon, but I am very happy with how these turned out!

I have an Aussie Nails Monday/Valentines mash up tomorrow, but I think we can call it a fail!

Until Next Time

<3 Bec

Saturday 9 February 2013

Valentines Mani #2!

Todays Valentines mani is heavily inspired by this phenomenal mani by Strawbrie (she's a-ok with it!). I kept mine noticeably different, but I loved her mani so much I HAD to try it myself!


I used 3 coats of China Glaze Lubu Heels on my pointer and pinky fingers, and 3 coats of OPI Love is a Racket on my middle and ring fingers. A coat of Essie Matte About You on all of them, and then on the red nails, I added 2 white 3D acrylic roses (LOVING 3D art atm). I chose the roses because I have very few stamping plates, can't stamp to save myself, and wanted to keep my nails different from Bries.

I'm taking a break from black and red for my next few manis, I actually have some pink coming up! I do hope you're enjoying my Valentines manis!

Until Next Time,

<3 Bec

Friday 8 February 2013

V-Day mani #1!

I'm not usually one to get into the holiday mood, and I don't actually celebrate Valentines day, but I love the manis that can be done! Plus, red and black- one of my FAVE colour combos! So, bear with me while I show you some!

Todays mani is one that I really love, and gave me an excuse to crack out Picture Polish Dorothy. Man, I had forgotten how gorgeous she is!


I used B French Natural (2 coats) on every finger except the ring finger as a base. My ring finger has 2 coats of Dorothy. Then, when that was dry, I painted Dorothy over the Natural base, covering my free edge. And all the detailing was done with a small nail art brush and Australis Sin City. And to top it off, I used a white acrylic 3D bow that I made with a mold and stuck it on.

Well, that's my first attempt at Valentines nails, I hope you like them as much as I do!

Until Next Time,

<3 Bec

Thursday 7 February 2013

OMG Nail Strips Review (part 1)

Hi hi! I have a fair few posts to catch up on, so I'll be posting a lot this week I think! I was recently contacted by OMG Nail Strips to do a review for them. I've been wanting to try some more nail strips for a while, so I was thrilled to try these! I have 2 designs to show you, the first being the purple leopard design.

I'd say they were more pink then purple, but cute nonetheless! I didn't want to wear these the traditional way, so I made a skittle mani out of them.


I used Ulta3 Hot Spring and Australis Sin City for my base colours, and then carefully cut and applied the strips. Except for my middle finger, which has just a strip on it. These were insanely easy to apply, even over the polish, and they lasted quite well. The only major problem I had was when I applied my Seche Vite (they say a top coat can help them last), I did get some shrinkage, but not until the 2nd day of wear was it really noticeable. Other than that, I found that they lasted and were very easy to wear, and they had a good amount of adhesion. They removed easily too, it was just like taking off normal polish!

These strips retail for $4.29USD and OMG Nail Strips provides free worldwide shipping. So they are much cheaper than the bigger brands (especially if you're Australian!) and they are just as good!

I have another set of strips to show you soon, but for the next couple of days I'll have some Valentines Day nails for you!

Until Next Time,

<3 Bec

The products in this post were provided for my honest consideration. This in no way alters my opinion.

Tuesday 5 February 2013

New Indie Alert: LOONY Lacquer!

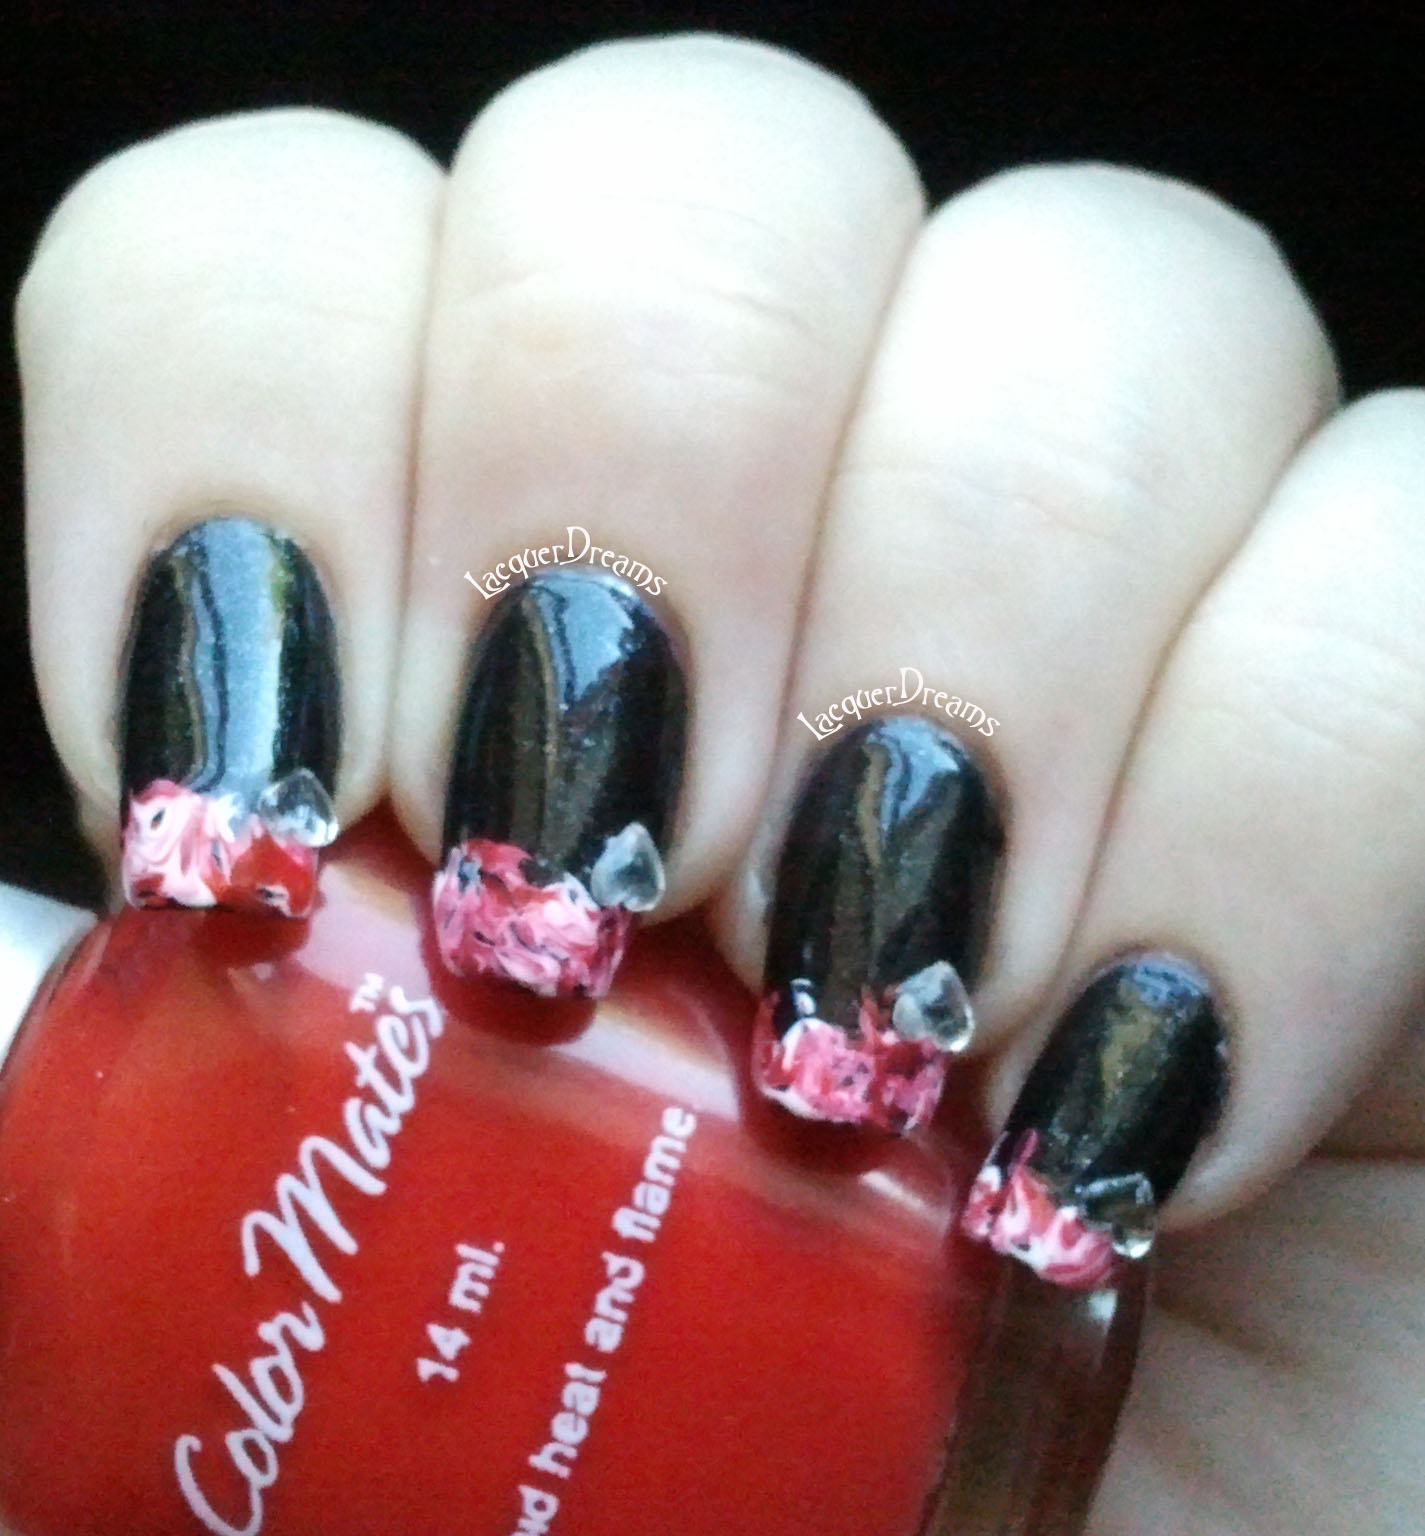
Hi guys! I finally got my pc fixed (YAY!) and the first thing I did was edit these pics I have been DYING to show you! The lovey Marie has just released her own indie line, and I have the pleasure to be reviewing one of her collections!

The 'Butterfly Wing' collection contains 4 polishes, all butterfly themed, and all are glitters made for layering. To save 'boring', normal swatches, I've added a bit of butterfly themed nail art to each swatch! Now, bottle shots (click to enlarge!)


And the polishes... First up, is Monarch. Monarch is black micro glitter, yellow and orange glitter, and some larger, sheerish white glitter mixed into a clear base. The white glitter really interested me, it's not stark white, and it's very subtle, but it works well with the colour combination. The glitter is dense and easy to apply, no dabbing needed. I have one coat over Sephora by OPI Nonfat Soy Half Caff, with a fimo slice Monarch butterfly (made using 2 slices of the wings) for these photos.


Next, we have Radiant Swallowtail. This one has square glitter, which I am really, REALLY loving lately! The glitters in this one are black, mint/green and blue that has a bit of holo sparkle, along with more of that awesome sheerish white glitter. There's multiple sizes of glitter in this one, and the glitter is not as dense as in Monarch, and I did have to maneuver a few bits of glitter around, but nothing troubling. I have 2 coats over OPI Planks A Lot, with an accent of a dotted butterfly done with China Glaze Refresh-Mint filled with Radiant Swallowtail in these photos.


Third is Pink Glasswing. Now, I'm not a pink fan. I've said that many many times on this blog before. It's old news. But THIS, this polish, was my unexpected favourite of the lot. This one has a very sheer white base, that is PACKED full of an amazing, vibrant pink shimmer. I'm including a bottle shot that shows it off because sadly, my swatch doesn't. This one has pink -holo glitter in different shapes and sizes along with some small holo glitter. I layered one coat of Pink Glasswing over China Glaze Something Sweet, except for the accent nail, which is 2 coats over Ulta3 Lily Whie with butterfly wing nail art.


And last but not least is Pearl Morpho. I loved this one, and I loved the entire mani I did with it. Pearl Morpho is mainly blue glitter, with some purple gillter and some iridescent/colour shifting glitter thrown in. Another interesting glitter, that iridescent one. It's almost duochrome! Shifting from green to copper, so unique! This was dense and easy to apply, I used one coat over Deborah Lippmann Almost Paraidse, and I used some green caviar beads to make the shape of a butterfly then filled it with Pearl Morpho using a small nail art brush.


The formula on these was very similar, easy to apply and dried reasonably quickly. The only exception was Radiant Swallowtail, which was a bit thinner, but still no hassle. All my swatches have one coat of Seche Vite and were all super smooth.

Loony Lacquer can be purchased via Etsy and come in 12ml bottles and retail for between $8.50-$9 plus shipping. At the time of this post, Marie is only shipping within Australia. Sorry International ladies :(

I really hope you enjoy this collection as much as I did, I'd love to hear your thoughts!

Until Next Time,

<3 Bec

The products in this post were provided for my honest consideration. This in no way affects or alters my opinion.

Friday 1 February 2013

Just a Quick Update!

Hey guys, unfortunately my computer has decided to die which means no proper posts until I get it fixed (bf should hopefully be doing it tomorrow!). Just thought I would drop in while borrowing a computer to let you know! I have some exciting things to post too, so I promise they'll be up ASAP!